On this page
| Setting up the integration | Raising an invoice | Changing invoice templates |
| Adding payment links to statements | Exporting data from Quickbooks | Troubleshooting |
| Reconfigure integration | Remove integration |
Setting up the integration
- If you're yet to create a Crezco account, head to our page on the QuickBooks App Store and select 'Sign in with Intuit' or 'Sign up now'.
- If you already have a Crezco account, head to the 'Integrations' section under the 'Settings' dropdown on the left hand side of the page.
- Click 'Click here to browse all integrations', then 'Connect to QuickBooks'.
- Confirm which company you wish to connect with. If you have a QuickBooks Online Accountant version, tick install for my firm.
- Connect to your QuickBooks account and confirm by clicking 'Connect'.

- Confirm which bank account you wish to connect to your QuickBooks bank account (you can add multiple bank accounts within Crezco).
- Confirm which account in QuickBooks it is linked to (in most cases this is Current). Then Click 'Treat as Deposit'.
- Review and click 'Confirm' once you're happy that the banks match.
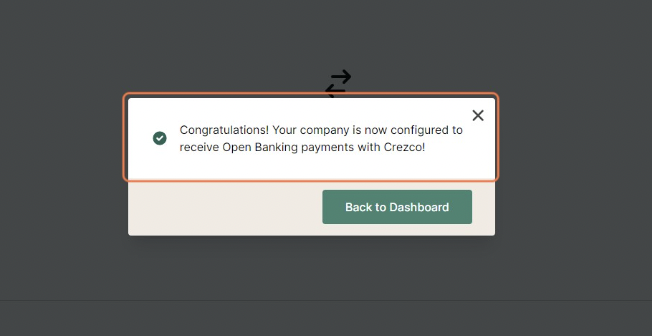
- You are now successfully connected to QuickBooks!
You will also receive an email notification from QuickBooks confirming the connection.
We recommend editing the invoice template to ensure your customers use the link. Please see here: Change invoice
Raising an invoice
Once your QuickBooks account is connected to Crezco, you will be able to add payment links directly to your invoices. Then once paid, your invoices will be automatically reconciled.
It is important to note invoices have to be in 'Full Details' to allow customers to see the Crezco payment link. Click here to see how to check.
We recommend editing the invoice template to ensure your customers use the link. Please see here: Change invoice
- The first step is to create your invoice in QuickBooks. 'Save and Send' once the invoice is completed.
- Review the email that will be sent to your client. Click 'Send and close'.
For the integrations to sync, to load the payment link, we'd recommend pausing here for around 10 seconds, immediately closing can mean the link doesn't appear correctly on the invoice. - Your invoice will now appear in your Sales section of your QuickBooks account.
- Your client will receive their invoice via email under the format below. They can review the details and click the 'Pay by Bank' link to use Crezco.

- The user will now be redirected to view the payment details in Crezco. Once they've confirmed the details, they can then follow the steps to make the payment.
- Once paid the invoice will be automatically matched and marked as 'Paid' and 'Deposited' in your QuickBooks account.
Changing invoice templates
We know that our link seems somewhat out of place on certain invoices.
We recommend editing your invoices slightly to allow your customers to feel more comfortable finding and clicking on the payment link.
- In your QuickBooks main screen click on the gear icon top right.

- Click 'Custom Form Styles', then Select which invoice template you wish to edit. Most customers edit their Standard.
- Select 'Edit', and then click 'Content'.
- On this page you need to click where your 'Message to customer' is. Typically it is next to the total due.

- We recommend something along the lines of: "Please see below to pay via Crezco a secure bank transfer."
That will now show on the PDF and bottom of the email. - Now click 'Emails'.

- Edit the 'Message to customer'.
We recommend inputting in addition to your existing message:
"To pay, please click the link below 'Balance due' to pay via Crezco, a secure direct bank transfer.
(Review and pay button will not allow you to pay unless clicking on 'View Invoice').
- Click 'Done' to save.
Your customers will now have more information on where to pay securely!
Adding payment links to statements
- Log into your Crezco account and navigate to the 'Accounts Receivables' tab and click on the 'Payment Links' section up at the top of the page
- On the right hand side of the page, click 'Create Payment Link'.
- Select 'Single Payment'
- Under 'Fixed Payment Amount' and 'Fixed Payment Reference', you will want to "uncheck" the green button just to the right of it.
This gives the payer the ability to enter in the amount in which they would like to pay as well as the reference of the payment.
In your email the customer, you can detail what you would prefer them to put for the reference.
- On the next screen, you can select 'Multiple use' under 'Link Options'. This will give you the ability to send this payment link to as many customer as you would like.
- Multiple use is part of our subscription packages. If you have not subscribed to either the Collect Plus or Premium Plan, you will not have access to this feature. To learn more about this feature or the Crezco plans, please go to the following help centre article: Billing
- Review all information, then click 'Create Payment Link'.
- This will generate a payment link and QR code. Click on the copy button next to the payment link.
- Next, navigate to your QuickBooks accounts and click the gear icon in the top right hand corner
- You will then want to select the 'Company Settings' under the 'Settings' section
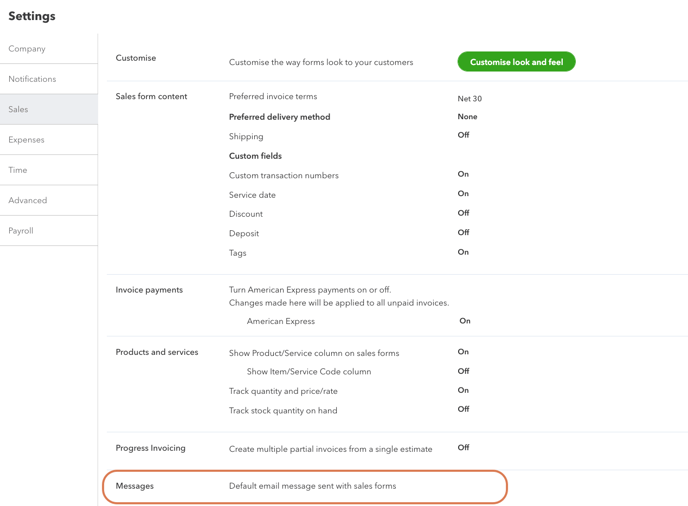
- On the left hand side of the page, you will want to navigate to the 'Sales' section
- Scroll down the page and click the 'Message' tile.
- Then from the 'Sales Form' drop down menu, you will need to select 'Statement'
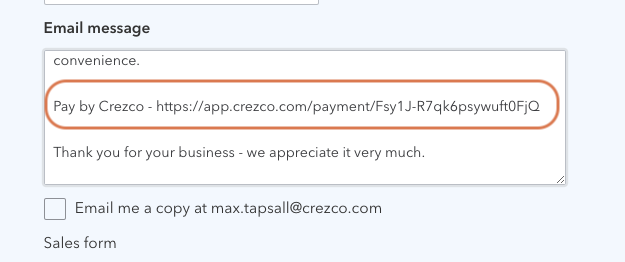
- In the text box, you can write instructions for the customer and paste the multiple use Crezco payment link you created. They'll see this when they submit payment.
- You are now set up to send statements out and get paid through Crezco!
Exporting data from Quickbooks
Unfortunately, QuickBooks does not store payee account details. This means, you can export a CSV of the bills/payroll you wish to process with Crezco. However, it will not contain the payee's payment details, which is needed for a successful import of payables into Crezco.
Feel free to export the CSV and then transfer the information to our preferred CSV import format. Please use the following help centre article to guide you: Click here
Troubleshooting
If the 'Pay by Bank' button is not appearing on your email invoices, please follow use these steps to ensure 'Full details' is active.
- Head to your QuickBooks account settings by clicking on the gear icon in the top right.
- Click on 'Custom form styles'.
- Here you will have all of your forms. The one most commonly used is under 'Default'.
- Click on 'Edit' on the form you wish to have the Crezco payment link attached to.
- Click on 'Emails'.
- Ensure 'Full details' is selected.
This will show the invoice within the email and include the 'Pay by Bank' button.
- You can also check on the invoice directly in QuickBooks: Please click 'Sales' then 'Invoices', find the invoice, click the arrow in 'Action' and 'Edit'.
The link should appear in the 'Message to customer'

Invoice link for QuickBooks did not generate
Why did a link not generate?
When generating/submitting invoices in the QuickBooks system, the QuickBooks system has to “call” on the Crezco system in order to generate a Crezco payment link to show up on the invoice.
When a customer submits an invoice too quickly on the final page in QuickBooks, it does not give the QuickBooks system enough time to “call” on the Crezco system to generate a payment link. We recommend that customers wait around 5 - 10 seconds on the final page before they submit the invoice. This gives the QuickBooks and Crezco system enough time to communicate.
If a client submitted the invoice and needs the payment link on the invoice, here are the following steps they can take to fix it:
- Go to the 'Invoices' sections on the left-hand side of your QuickBooks account, within the 'Sales' dropdown.
- Click on the invoice that you created, then click 'Edit invoice' on the bottom right.
- After you have selected edit, the invoice will take a second to update.
- The Crezco payment link will generate in the Message on invoice box.
- Click 'Save and resend'.
- Email will be resent, and it will include the payment link.
This issue does not occur with Xero and Quickfiles.
Reconfigure integration
From time-to-time our integration partners update their APIs, which can disconnect integrations and show this message:
"Something went wrong! If the problem persists please contact the owner of this invoice"
Not to worry - follow these quick steps to get back up and running:
- Log in to your Crezco account using your Xero/QuickBooks login or email.
- Head to the 'Integrations' section under the 'Settings' dropdown, select the required integration and click 'Reconfigure'.
- This should now take you through a couple of steps to reload the configuration and allow you to view the invoice again.
If the problem persists, please contact support.
To avoid this from happening in the future, we recommend that customers reconfigure your integration every 90 days.
Remove integration
- Log in to your Crezco account and navigate to the 'Integrations' section of the 'Settings' dropdown on the left hand side of the page
- Click 'Disconnect' under the QuickBooks page.
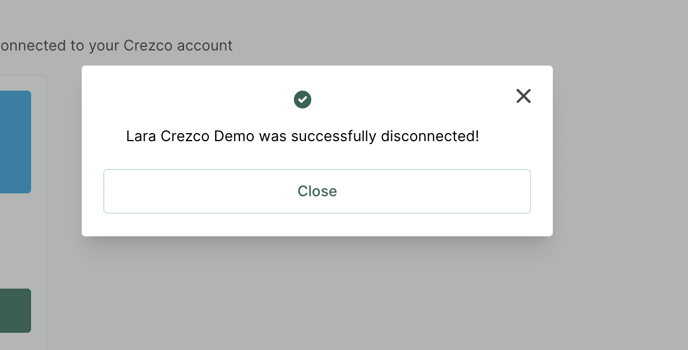
- Confirm you wish to 'Disconnect'.
- You have now successfully disconnected QuickBooks from your Crezco account.